July 7, 2026
Every homeowner relies heavily on the steady flow of hot water for everyday tasks, from washing dishes to taking comfortable showers. When the time arrives to upgrade your system, understanding the upcoming process helps ease any anxiety you might feel about home disruptions. Professional service providers follow a meticulous sequence of steps to ensure that your new equipment operates safely and efficiently. A successful water heater installation involves careful planning, technical precision, and thorough testing. By familiarizing yourself with what happens during a standard visit, you can properly prepare your home and your schedule for the arrival of the service technicians. This guide will walk you through the entire timeline, explaining how professionals transform your utility area and restore comfort to your daily routine without causing unnecessary stress or operational complications along the way. Preparing your household for this upgrade ensures that everything moves smoothly from the moment the team arrives at your doorstep to the final check of the system operations. This detailed knowledge empowers you to make informed decisions regarding your household utility setup.
Preparing the Installation Space
The journey toward an upgraded system begins with setting up the work zone properly. When the technicians arrive, they will initially evaluate the pathway leading to your utility closet or basement. It is essential to clear any clutter, boxes, or personal belongings away from this path and the immediate area surrounding the equipment. Technicians require ample room to maneuver heavy machinery and tools without risking damage to your walls or home decor. They will typically place protective coverings over your flooring to prevent dirt, scuffs, or accidental water drips from ruining your carpets and hardwood floors. This initial phase sets the stage for a smooth water heater installation by establishing a safe environment. The team will also locate the main shutoff valves for the water and power sources. Turning off these utilities is a critical safety measure that prevents accidental flooding or electrical hazards while work is being performed. By taking the time to secure the space, the technicians protect your property while creating an efficient workspace that allows them to focus entirely on the technical aspects of the setup process, ensuring that every detail is handled with absolute care from the very beginning.
Removing the Old Equipment
Once the workspace is secure and the main utilities are completely shut down, the team moves forward with disconnecting the existing unit. This phase requires patience, as the old tank must be completely emptied before it can be safely moved. Technicians attach a hose to the drain valve at the bottom of the tank and direct the remaining water to a nearby floor drain or sump pump. While the tank empties, the professionals carefully disconnect the plumbing lines, gas connections, or electrical wiring attached to the top and sides of the unit. Handling these tasks requires specialized knowledge to avoid damaging the existing home infrastructure. After ensuring that all connections are severed and the tank is light enough to move, the team will carefully transport the old appliance out of your home. This part of the water heater installation requires physical strength and specialized dollies to avoid scratching floors or bumping into door frames. Proper removal ensures that the designated space is entirely clear and ready for the incoming technology, allowing for a seamless transition between the old system and the new configuration, making room for a highly reliable utility upgrade.
Positioning the New Tank
With the old unit gone, the technicians will thoroughly clean and inspect the vacant space. They look for any signs of past leaks, water damage, or structural issues that need addressing before placing the new unit. Once the area passes inspection, the water heater installation moves forward as the new appliance is carefully brought into the home and situated in the designated spot. Achieving perfect alignment is critical, so technicians use leveling tools to ensure the tank stands completely straight. A level foundation prevents unnecessary stress on the internal components and surrounding pipe connections. During this phase, maintenance guidelines are often discussed with homeowners to ensure longevity. According to The Spruce, homeowners need to ensure their water heaters are drained and inspected at least one time each year for optimal performance. Adhering to these suggestions protects your investment over time. Once the unit is perfectly positioned, the technicians can proceed with the physical attachments. Proper placement ensures that future maintenance tasks, such as draining the tank or checking valves, can be completed easily by service professionals without encountering awkward spatial barriers or safety obstructions.
Connecting the Utility Lines
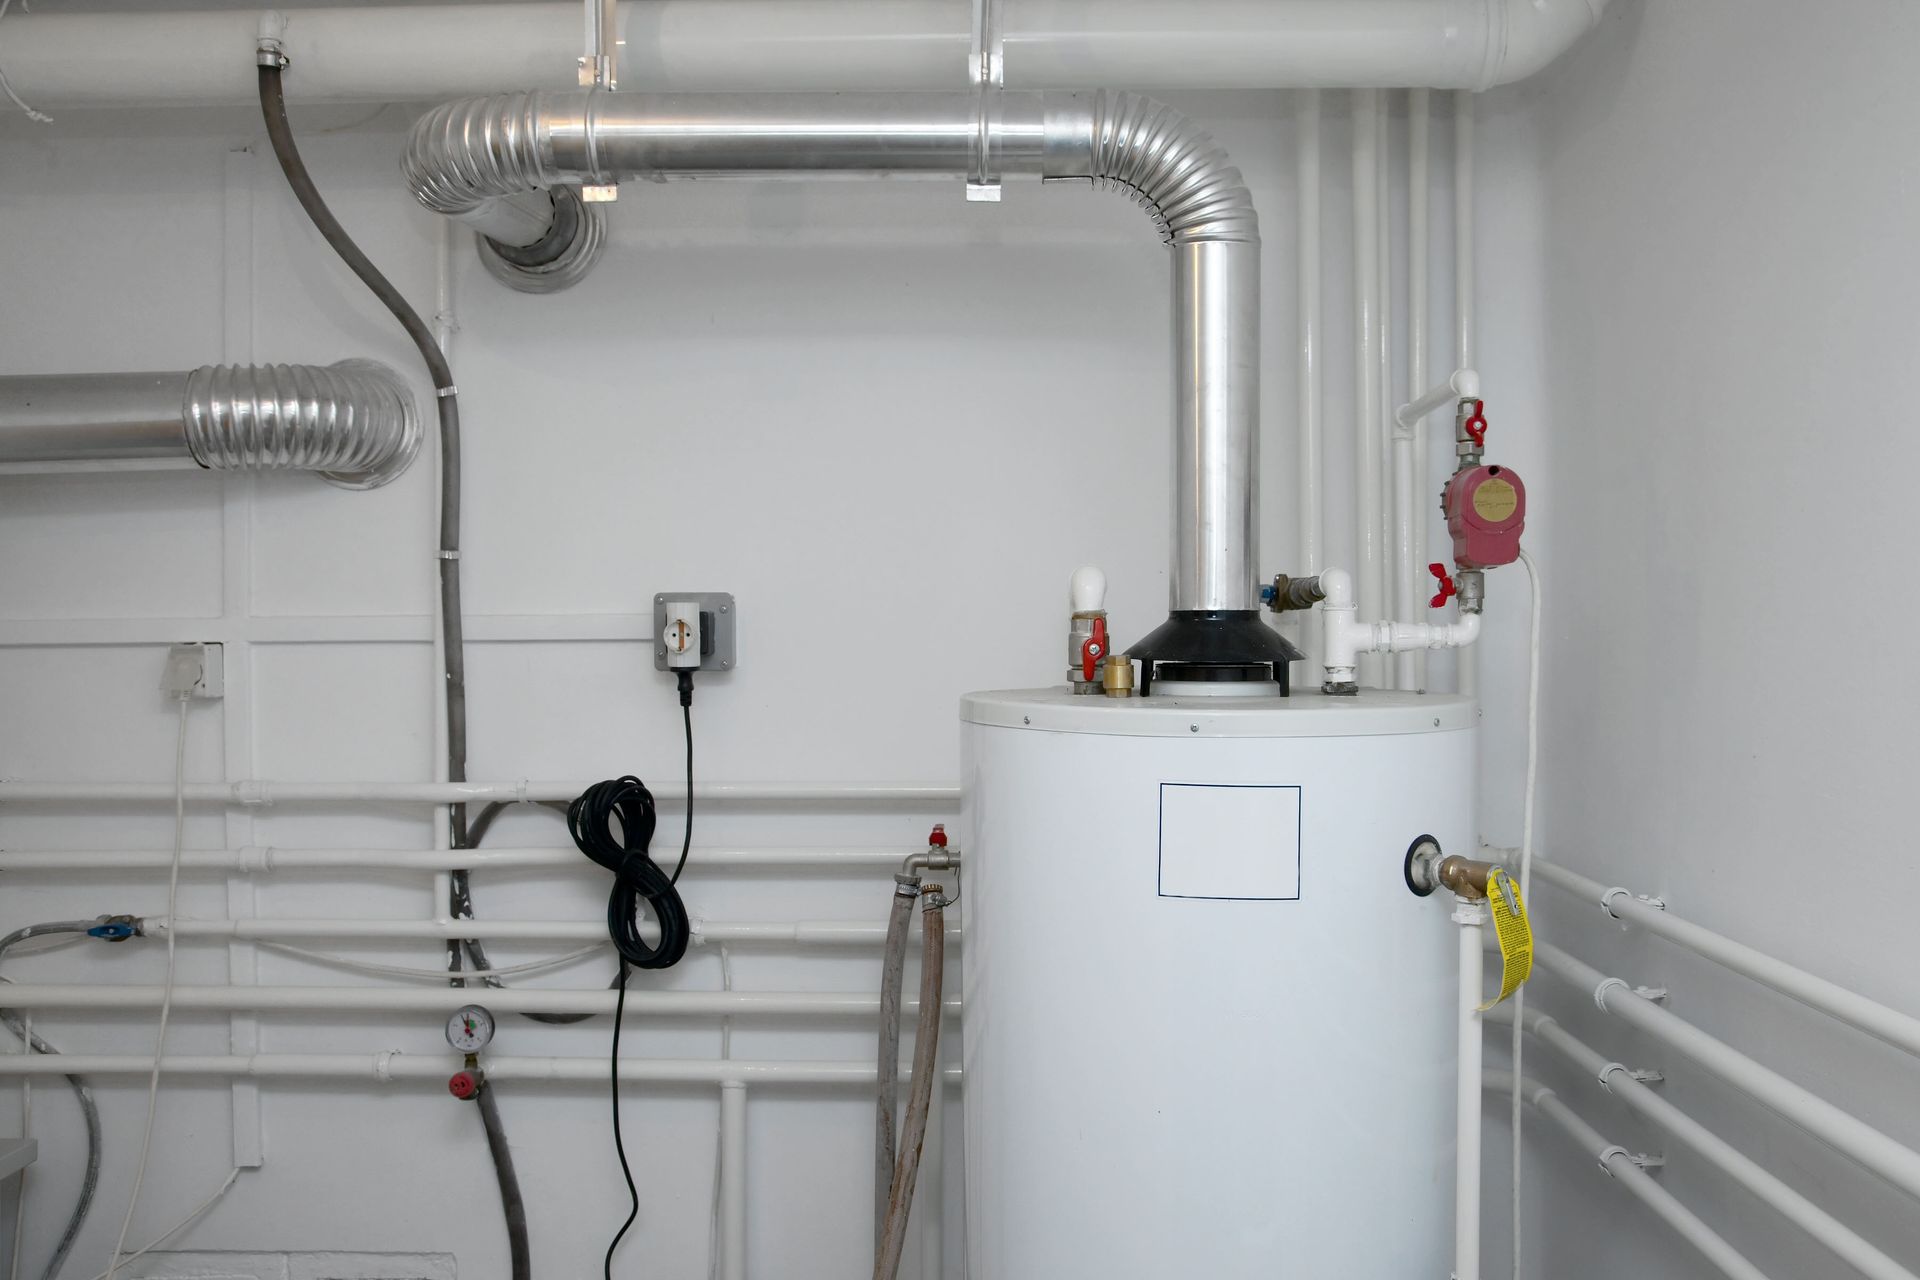
This phase is perhaps the most technical part of the entire process, requiring extreme precision and adherence to local building regulations. The technicians will begin routing and securing the new plumbing connections to your home's water supply lines. They often install new shutoff valves and flexible connectors to ensure a highly reliable and leak-free fit. For systems that utilize gas, the team carefully connects the gas line, applying specialized sealants and checking every joint for potential leaks using advanced detection tools. For electric models, they carefully wire the unit to the home electrical panel, ensuring all safety grounds are correctly placed. Venting systems are also meticulously inspected and connected to ensure that any exhaust gases are safely directed outside your home. Every connection made during this stage of the water heater installation must be secure to prevent future operational hazards. Technicians take their time during this phase because even a tiny mistake can lead to system inefficiency or safety risks. Their expertise guarantees that your utilities feed into the new appliance flawlessly, meeting all modern safety standards.
Testing the System Performance
After all connections are secure, the system cannot simply be turned on immediately. Instead, the technicians will open the water valves to fill the tank. They leave a nearby faucet running to purge any trapped air from the plumbing lines. Once the tank is full and water flows steadily, they conduct a rigorous inspection of all the new joints and connections to verify that no leaks are present. Only after confirming that the system is completely watertight will they restore the power or gas supply to initiate the heating process. The technicians will monitor the unit closely as it begins to warm the water, checking the thermostat settings and ensuring that the exhaust system vents properly. They will explain how to operate the controls and what signs of trouble to look for in the future. This thorough testing phase of the water heater installation gives homeowners complete peace of mind that their new investment is running perfectly and safely before the team cleans up their tools and leaves the premises.
Investing in a new heating system enhances your daily comfort and improves the overall efficiency of your household plumbing network. Understanding the steps involved allows you to approach the day of service with complete confidence, knowing exactly what to expect from the arriving professionals. From the initial room preparation to the final testing of the connections, every step is designed to guarantee safety, reliability, and long-term satisfaction. Having a qualified team handle the complexities of a professional water heater installation prevents common mistakes and ensures your home remains protected throughout the process. If you are ready for a reliable and efficient upgrade to your home comfort, contact us at Maximus Plumbing today. We will help you select the ideal system for your household and deliver a flawless installation process that keeps your hot water flowing smoothly for years to come.